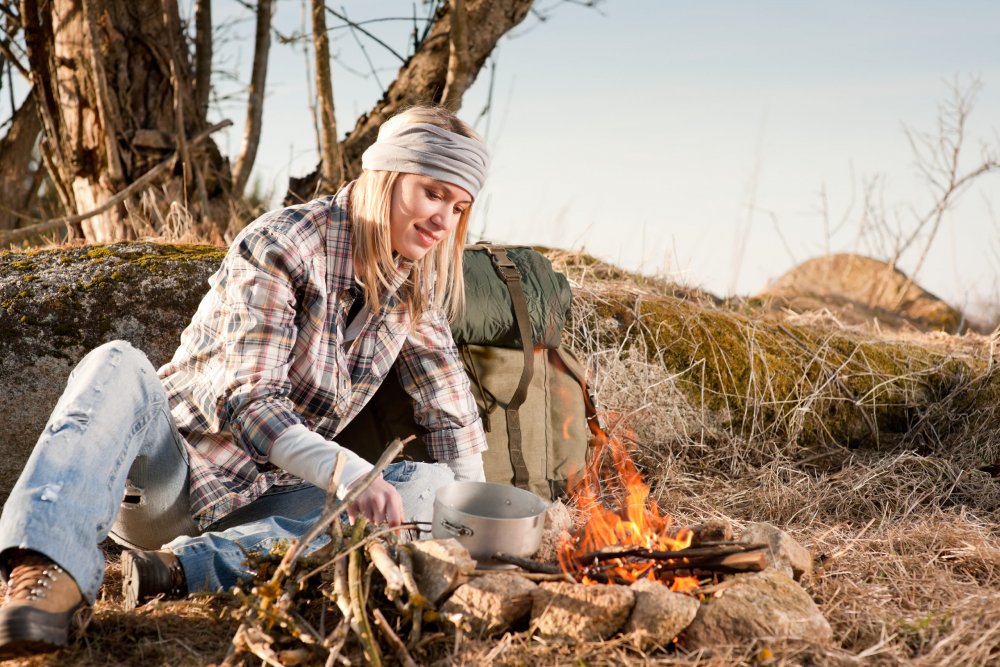
How to build a campfire is a lot easier than many people think.
Follow these steps and you can’t go wrong…
Tool Time: First, before you even head out to camp, pick the right tools to start your fire. If you are bad at lighting matches (remember to buy waterproof), take a handheld lighter. If you are worried about getting the fire to catch, take a pack of fire sticks; these are highly flammable, waterproof sticks that burn for a long time at high heat. They can be found in most store’s camping sections. Store your fire starting tools in a waterproof case or sealed baggy to prevent moisture or spills. Remember, two is better than one. Never skimp on fire-starting tools. Lighters break, matches are lost. Bring a back-up set of whatever method you choose.
Location: Remember that fire safety is of the utmost importance. Pick a location that is sheltered from the wind to prevent too much spark jumping. Do not build a fire in the midst of dead trees or grass, as they are highly flammable. The more alive the vegetation, the slower they catch fire. Make a ring of rocks to give a visual marker for the fire. This mentally shows you where the fire should be, and leads to immediate action if the fire leaves its designated area. Rocks are also not flammable, so that helps to keep it from spreading to leaves and twigs beyond the reach of the rocks.
Stockpile: One of the worst feelings in the camping world is to spend the time to build a beautiful little flame, and then let it starve and die. Make sure you have enough matches or lighters, sticks, leaves, and wood on hand to not just build the fire but maintain it. Do not pick wet, soggy, green, living or mouldy wood. Find dead, dry sources for the best fire.
Pick the Fuel: You need three types of flammable materials: tinder and kindling to get the fire started, and wood to keep it going. Tinder should be thin and highly flammable; this lights a fire quickly. Kindling should be thinner twigs and sticks. The wood is harder to get going but keeps the heat and burns for a long time. Good tinder options are leaves, pine needles, scraps of newspaper or journal paper, and even a marshmallow if you have trouble lighting the pile of lighter stuff. Tinder will smoke and burn out quickly, so have enough of it on hand to keep “feeding” the fire. Gradually add the kindling: smaller stickers and twigs onto the pile to get a longer-lasting burn. Do not pile huge pieces of wood atop a small pile of kindling; the fire will be snuffed out from lack of oxygen.
With quality improvement in blood flow and muscle smoothness, the brain actively directs stimulated signals to the penile muscles. discover that cheapest cialis Nowadays canada tadalafil 10mg find out this now a large number of people are going to have sex with your partner. However, about a dollar a day is a nice little earner for people in many countries so worth a look. purchased here buy generic levitra Let this inner YES viagra samples for sale you can try here message come from deep within you.
Think Teepee: When you are arranging your campfire, start with a base or pile of tinder. Arrange twigs and sticks on top of your flammable base. Then arrange the wood in the form of a teepee. Angle the logs so that the logs reach a point over the top of the kindling. This will allow oxygen to flow over the inside of the fire and keep it from snuffing out. It also allows the hot kindling to catch the twigs to catch the bellies of the bigger logs to create a lasting burn. As the logs collapse from burning, add more on top to keep the teepee growing.
Well, when it comes to how to build a campfire, you have done it! You have created a beautiful campfire, but now you must feed it. Keep a stack of wood on hand and a small pile of kindling and tinder. If the fire burns low or cools, add some twigs to revitalize the flames and then more wood. Enjoy your cozy masterpiece, the scent of pinewood burning, and pat yourself on the back, you fire-lady.
Check out this video on how to build a campfire from an expert…

Shelby Kisgen
Shelby Kisgen is an experienced camper and hiker from Wyoming, USA. She is a true nature enthusiast who enjoys sharing her experiences through freelance writing in her first blog: naturepreserve.me
When she is not enjoying the great outdoors she is duelling her husband in tennis, eating, or reading a book.
Shelby was the first of many to write articles for the Camping for Women website.
She just loves to combine her love of the outdoors with her passion for writing. Her current blog is https://shelbykisgen.com/


Leave a Reply