
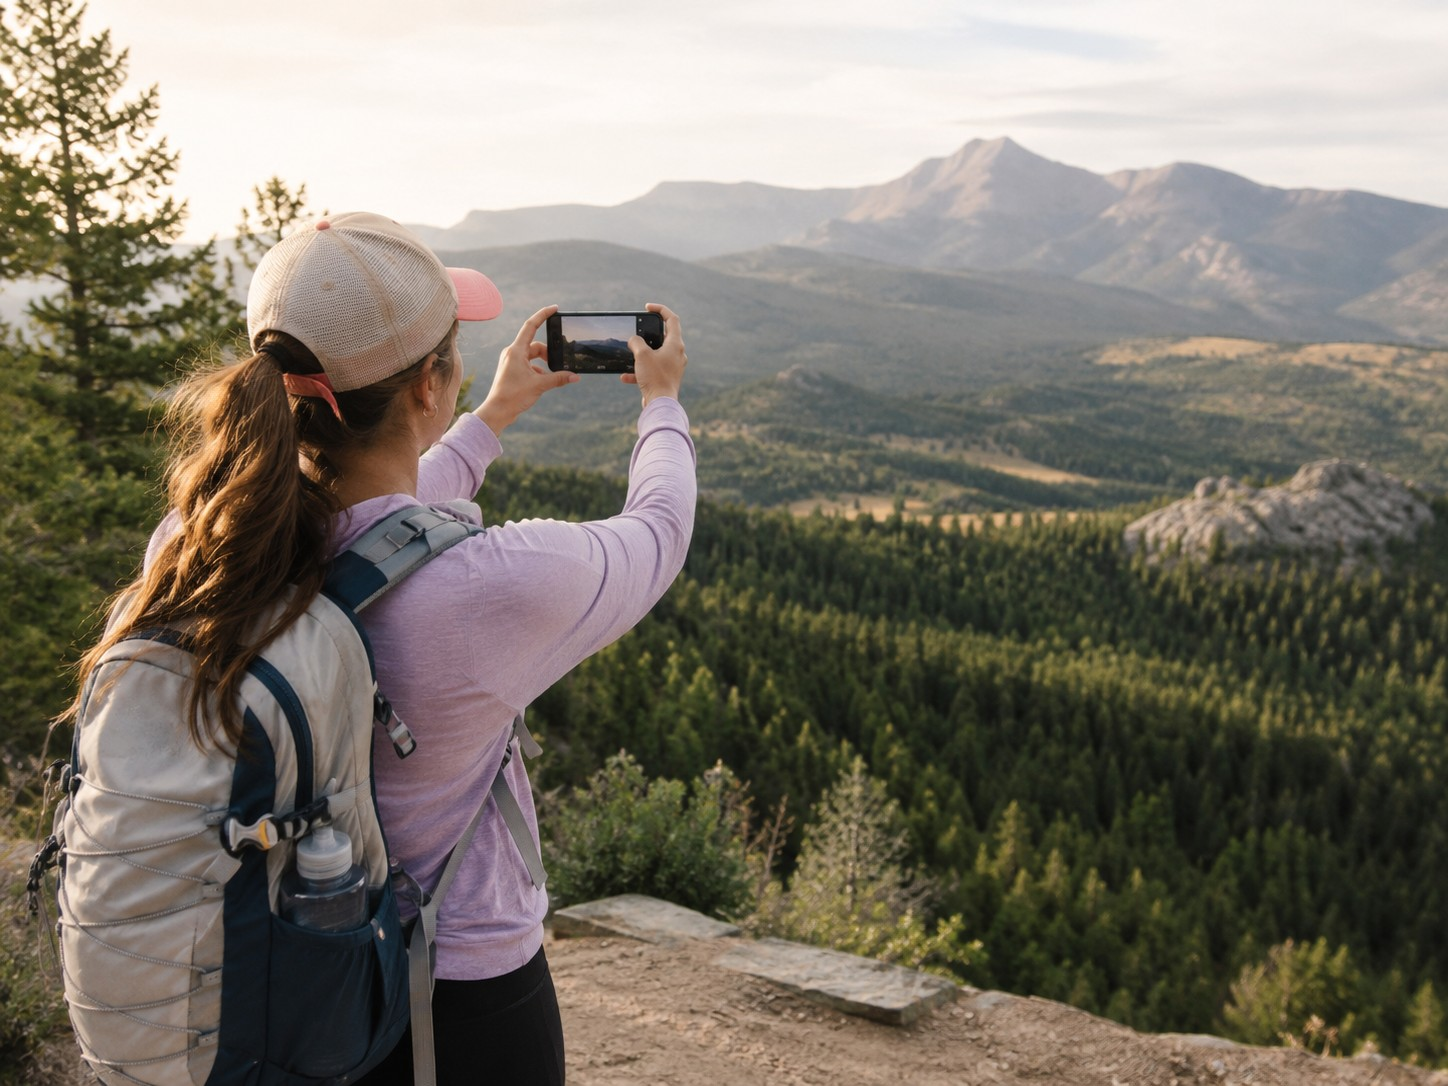
A good trail photo usually starts before you tap the shutter. It starts when you notice the light catching the edge of a pine branch, your friend laughing with a sandwich in one hand, or the way your tent looks tiny under a wide evening sky. Those are the photos that bring a trip back later. Not because they are technically flawless, but because they feel close to the day you actually had.
You don’t need a professional camera for that. A phone, a compact camera, or an older DSLR can all capture strong outdoor memories if you slow down, watch the light, and give each photo a clear reason to exist.
Here are practical trail photography tips for women who want better photos during hikes, camping trips, and nature walks without turning the whole day into a photo shoot.
1. Watch the light before you choose the frame
Light changes a photo faster than any setting. Early morning and late afternoon tend to give you softer, warmer light. Faces look gentler. Trails look more textured. Lakes, tents, rocks, and trees pick up small details that disappear under harsh midday sun.
Midday can still work, though. You just need to be a little more selective. Look for shade under trees, beside boulders, near your tent, or at the edge of the trail. If you are photographing a friend, ask her to turn slightly away from direct sun so she is not squinting into the lens.
Cloudy days are better than many people think. They soften shadows and make forest trails, wildflowers, waterfalls, and portraits easier to shoot. The colors may look quieter at first, but the photos often feel calmer and more natural later.
Before taking a photo, pause for a second and ask where the light is coming from. That tiny habit can save a lot of flat, washed-out shots.
2. Give each photo one clear subject
A trail can look beautiful in real life and messy in a photo. The camera sees everything at once. The mountain, the signpost, the backpack strap, the snack wrapper, the half blink, the patch of bright sky, the branch cutting through someone’s head. Your eyes edit that out in the moment. The camera does not.
So choose one subject before you shoot.
Maybe it is your friend standing at the lookout. Maybe it is the curve of the path, a red tent between dark trees, a hand wrapped around a tin mug, or one wildflower against a blurred green background.
Once you know what the photo is about, clean up the frame. Step left. Crouch lower. Wait for another hiker to pass. Move the water bottle out of shot. Small changes make the photo feel more deliberate without making it look staged.
3. Put people in the frame

Outdoor photos often feel stronger with a person in them, even when the view is the main attraction. A person gives scale. A cliff looks taller. A forest looks deeper. A winding trail looks more inviting. People also bring warmth to a scene that might otherwise feel like a postcard.
You don’t need every photo to be posed. In fact, the quiet in between shots often feel better. Someone tying muddy boots. Someone fixing a backpack strap. Someone sitting on a rock with wind tangled in her hair. Someone pouring coffee at camp while everyone else is still half asleep.
Get the smiling group photo, of course. You will want it later. But take a few loose, imperfect photos too. The snack stop. The tired laugh. The careful step across wet stones. These are the images people tend to ask for after the trip because they remember how the day felt.
4. Change your height
Most people take nearly every photo from the same height, standing up, phone held at chest or eye level. That works sometimes. It also makes a whole album feel strangely repetitive.
Try getting lower. Photograph boots on a rocky path, a tent doorway from ground level, or a friend walking ahead with trees rising above her. Low angles can make simple trail scenes feel fuller and more dramatic.
Then try a higher angle. Stand on a safe rock or picnic bench and shoot down at a camp meal, a map, a pile of backpacks, or everyone’s hands around mugs. These photos are not always grand, but they carry the texture of the trip.
You can also shoot through things. A tent door. Ferns near the path. Branches at the edge of a forest clearing. Framing the view this way can make the photo feel like a memory rather than a flat record of where you stood.
5. Use the trail itself to guide the eye

Trails, rivers, fences, ridgelines, boardwalks, and shorelines all pull the eye through a photo.
If a path curves into the distance, place yourself where that curve naturally leads into the frame. If a river cuts across the scene, let it guide the photo instead of treating it as background. If tree trunks create a narrow opening, use that opening to frame the person or view beyond it.
Phone grid lines can help too. Turn them on in your camera settings and place your subject slightly away from the center. You don’t need to follow the rule every time. It just gives you a simple starting point when a scene feels good but the photo looks dull.
A good trick is to take two versions. One centered. One slightly off-center. Later, you will usually know which one feels better.
6. Build a small memory set, not a giant camera roll
A full camera roll does not always mean better memories. It often means you have 300 photos to sort through, including 40 versions of the same lookout and not a single image of the walk back down.
Think in small sets instead. On a hike or camping trip, try to capture the beginning, one wide view, one close detail, one person in motion, one camp or food moment, one weather shift, and one quiet image near the end of the day. That gives you variety without making the trip feel managed.
On a forest hike, that might mean the trail sign, light through the trees, moss on a stone, your friend walking ahead, lunch beside a creek, clouds rolling in, and muddy boots beside the car. None of those photos needs to be dramatic on its own. Together, they tell the story better than a folder full of the same view.
7. Keep safety ahead of the shot

No photo is worth a bad fall. It is easy to focus so hard on the frame that you stop noticing loose rocks, slippery roots, changing weather, or the edge behind you. Before you lift the camera, check your footing. If you need to stop, step fully off the trail where it is safe. If you want to back up, look behind you first.
Near cliffs, rivers, waterfalls, snow, or wet stone, stay boring. Boring is fine. Boring gets you home.
Solo hikers should also be careful with real-time posting. You can still share the beautiful lake, the trail sign, or the mountain view, but consider waiting until you have left the area before posting exact locations. A little delay gives you more privacy without taking anything away from the memory.
If you are hiking with a group, talk about photo stops early. A simple “I will take photos at the viewpoint, but I won’t stop every five minutes” keeps the pace friendly and avoids turning one person into the unofficial trip photographer against her will.
8. Protect your battery and your files
Outdoor photography drains phones quickly, especially in cold weather or areas with weak signal. Airplane mode helps when you do not need service. In cold conditions, keep your phone close to your body instead of in an outer pocket. For longer hikes, bring a small power bank. If you use a camera, pack a spare battery and keep memory cards in a dry pouch.
A microfiber cloth is also worth carrying. Phone lenses pick up sunscreen, dust, mist, and fingerprints. Plenty of blurry scenic photos are caused by one greasy mark on the lens.
Wet weather needs a plan too. A dry bag, zip pouch, or waterproof case is enough for casual shooting. You do not need expensive camera gear for every walk, but you do need a way to keep your device dry when rain starts moving sideways.
Hope is not much of a storage system.
9. Sort photos while the trip is still fresh

The best time to sort your photos is soon after the trip, before the day starts to blur.
You do not have to edit every image right away. Just do a quick first pass. Favorite the photos that bring something back. Delete the obvious duplicates, accidental shots, closed eyes, and blurry attempts at the same tree.
Then choose a smaller set to share. For a weekend outdoors, 20 strong photos are usually kinder than 150 mixed ones. Friends are more likely to enjoy a tight, thoughtful set than a huge folder they have to scroll through like homework.
If you are photographing for a hiking group, retreat, outdoor blog, guide, or small paid project, a cleaner gallery can help. A resource on how to share photos after a trip is useful when people need to choose favorites, download images, or comment on specific shots without losing everything inside a long chat thread.
For personal trips, even a simple album named by place and date helps. Future you will be grateful when you are trying to find “that misty waterfall walk” two summers from now.
10. Edit lightly and keep the day believable

Editing can help a photo feel closer to the moment you remember. But heavy filters can make outdoor photos look strange fast.
Start with the basics. Straighten the horizon. Lift shadows a little. Pull down bright skies if they look blown out. Add a small amount of warmth if the image feels cold. Crop out distractions at the edge of the frame.
Be careful with skin tones. Some presets turn faces orange, gray, or strangely flat, especially in mixed forest light. If a filter makes people look unlike themselves, skip it.
Nature already did most of the work. The edit should help the photo breathe, not turn the forest neon.
11. Leave some moments alone
You do not have to photograph everything. Some parts of a trip are better without a camera in your hand. The first sip of coffee outside the tent. The hard climb where nobody feels photogenic. The quiet part of the trail when conversation stops. The view that makes everyone stand still for a minute.
Take the photo when it feels right. Then put the camera away. Good trail photography should support the trip, not take it over. The best outdoor memories often come from that balance. A few thoughtful photos, a few messy ones, and enough space to actually feel the place while you are there.
What are your Trail Photography Tips?
Is there anything you would add to the information in this article? What trail photography tips do you use while enjoying the outdoors? Please share your thoughts on photography or even photography gear in the comments below.

Snežana Samardzija
Snežana is an SEO specialist and outdoor enthusiast who enjoys mountain biking, exploring nature, and capturing memorable moments through photography. Drawing from her own experiences on the trail, she shares practical tips to help others make the most of their outdoor adventures and preserve them through better photos.


Leave a Reply